Dive into DIY: Mastering the Art of Building a Backyard Swimming Pool

Unveiling the Ultimate Automatic Pool Cleaner Showdown
May 5, 2025
2025’s Top-Rated Pool Pumps Unveiled: Enhance Your Summer Splashes!
May 6, 2025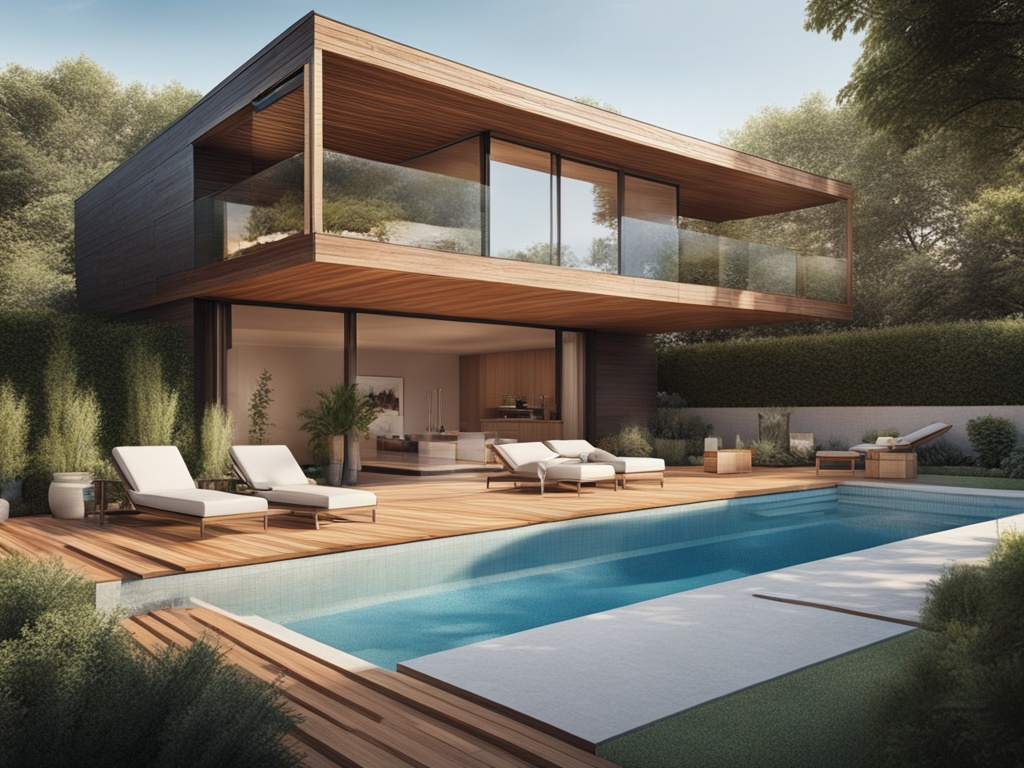
Planning and Permits
Before immersing yourself in the construction of a swimming pool, it is crucial to embark on meticulous planning and to secure the necessary permits. This foundational stage can significantly influence both the timeline and the overall success of your project.
Research Local Regulations and Restrictions
Different regions have distinct regulations regarding swimming pool construction, so it’s paramount to conduct thorough research. Consult your local city or county office to understand zoning laws, building codes, and safety regulations that may apply. Pay particular attention to factors such as setback requirements, which dictate how far the pool must be situated from property lines, as well as any restrictions on depth or size. Engaging with neighbors if your pool’s construction could impact them is also considered a best practice.
Obtain Necessary Permits and Approvals
Once you have navigated the maze of local regulations, the next step is to obtain the necessary permits. Typically, this involves submitting your proposed pool design and any related construction plans to your municipality for review. The process may vary, but common permits required include:
| Permit Type | Description |
|---|---|
| Building Permit | Authorizes construction based on local building codes. |
| Electrical Permit | Required if your pool includes electrical components, such as lighting or heating. |
| Plumbing Permit | Necessary if plumbing systems, such as filtration, will be installed. |
Additionally, don’t overlook the necessity of obtaining approvals that may be required for environmental considerations, particularly if your property is near natural water bodies or habitats.
Design the Layout and Size of the Swimming Pool
Once you have secured your permits, the exciting phase of designing your pool layout begins. Consider factors such as available space, intended usage, and aesthetic aspirations. Will your pool serve as a tranquil retreat or a vibrant recreational area? Your vision will govern decisions around the pool’s size and shape, whether it is a sleek rectangular design, a meandering lagoon form, or an infinity pool that seemingly extends into the horizon.
Be sure to factor in practical considerations such as accessibility and the configuration of surrounding landscaping. Creating a well-defined layout will not only enhance the functionality of your pool but also ensure it integrates harmoniously into your outdoor space, elevating your property’s allure and value.
Excavation and Ground Preparation
Mark Out the Pool Area
The first step in the excavation process is to accurately mark out the pool area. This foundational phase ensures that all subsequent work aligns with your design goals. Utilize stakes and string to outline the perimeter of the swimming pool, ensuring to account for any additional features such as coping or decking. It is advisable to employ a bubble level to confirm that the marked area is even and that all corners are precisely aligned, providing a robust framework for your vision.
Excavate the Ground to the Desired Depth
With the pool area clearly defined, the next step is to excavate the ground to the desired depth. Depending on the type of pool you are constructing—whether it’s a traditional in-ground pool, fiberglass, or a concrete structure—the excavation depth may vary significantly. For an in-ground pool, depths typically range from 3 to 8 feet. Use heavy machinery, such as a backhoe or a mini-excavator, to ensure the process is completed efficiently. *Manual labor may be necessary for fine-tuning* the edges or for smaller areas where machinery cannot operate effectively.
Prepare the Ground for the Pool Structure
After achieving the desired depth, the ground must be meticulously prepared to create a stable base for the pool structure. This includes compacting the soil to eliminate air pockets, which could lead to shifting or settling over time. Employing a plate compactor is an excellent method for ensuring the soil is firmly packed. If your pool will include a concrete base, consider laying a layer of gravel, as it aids in drainage and minimizes erosion around the pool area.
Consider Drainage Solutions
Proper drainage is crucial during the excavation and ground preparation process. Without it, water can accumulate around the pool, damaging the structure and creating an unsafe environment. Implementing *French drains* or trench drains along the perimeter can effectively redirect water away from your swimming pool. A well-designed drainage system prevents water pooling, maintaining the integrity of the excavation site and prolonging the lifespan of your pool.
Soil Testing and Considerations
Prior to finalizing your excavation, conducting a soil test can provide invaluable insight into the soil composition and stability. A soil test will delineate whether the ground retains excessive moisture or possesses organic material, which should not be present in the pool’s substructure. If problematic soil is detected, amendments might be necessary, such as removing extra clay or sand, ensuring a dependable foundation for your pool.
Preparing for Utilities
As you prepare the ground for your swimming pool, don’t overlook the necessity of laying down utilities that include plumbing and electrical conduits. *Installing these elements prior to backfilling is critical* to avoid costly modifications later. Consider aspects such as water supply lines for filling the pool, drainage for overflow, and electrical lines for lighting and pumps. Ensuring these utilities are integrated properly will enhance the functionality and safety of your swimming space.
Building the Pool Structure
Constructing a swimming pool is a meticulous endeavor that necessitates a solid *foundation* to ensure longevity and safety. The first crucial step in building the pool structure is to install the steel framework. This framework serves as the skeleton of your pool, providing it with both strength and stability. High-quality, galvanized steel rebar is commonly used in this process, as it resists corrosion and extends the lifespan of the swimming pool. The rebar must be accurately positioned to form the pool’s shape, including the walls and floor outline. At this stage, it is essential to ensure that all steel is securely tied together and that the alignment adheres to the approved *architectural plans*.
Pouring Concrete for the Pool Floor and Walls
Once the steel framework is firmly in place, the next step involves pouring concrete for the pool’s floor and walls. This is a pivotal moment in the construction process, as it transforms the skeletal structure into a solid entity. A specially formulated, high-strength concrete mix is typically recommended for pool construction due to its resilience against water and environmental factors. The concrete should be poured in layers, ensuring even distribution across the floor and up the walls. Using a *vibrating screed* can assist in eliminating air pockets, ensuring a faultless finish. After pouring, the surface should be leveled to create a smooth pool floor. The correct thickness of the floors and walls is essential for optimal *structural integrity*. Generally, walls should be a minimum of 8 inches thick and floors at least 6 inches.
Allowing Time for the Concrete to Cure Properly
After the concrete has been poured, patience is key as it requires adequate time to cure properly. Concrete curing is a chemical process that involves hydration, allowing the mixture to reach its full strength and durability. This phase typically lasts anywhere from 7 to 28 days, depending on environmental conditions such as humidity and temperature. It is *crucial* to provide the correct curing environment to prevent cracking or weakening of the pool structure. Employ methods like covering the concrete with wet burlap or using curing compounds that retain moisture, thereby fostering optimal curing conditions.
During the curing period, it’s advisable to maintain a consistent moisture level on the surface; thus, lightly misting the concrete can be beneficial. As the curing progresses, homeowners should remain cognizant of the construction timeline and plan subsequent stages accordingly. The strength achieved through proper curing will enhance the *hydrostatic pressure resistance*, ensuring the pool withstands the forces exerted by water consistently.
To optimize the structural reliability of your pool, conducting routine inspections of the curing process could help identify any potential issues early on. This ensures that adjustments can be made before proceeding to the next phase. Quality control at this stage makes a significant difference in the longevity and functionality of your swimming pool.
| Component | Recommended Thickness | Material |
|---|---|---|
| Pool Walls | 8 inches | High-strength Concrete |
| Pool Floor | 6 inches | High-strength Concrete |
| Steel Framework | – | Galvanized Steel Rebar |
Installing Plumbing and Electrical
Plan and Install Plumbing for Water Circulation
When embarking on the journey of building a swimming pool, one of the *crucial elements* is the effective planning and installation of plumbing for water circulation. Proper water circulation is essential for maintaining water quality and ensuring a safe swimming environment. Start by designing a plumbing layout that includes *main drain lines*, *skimmer lines*, and *return lines*. Typically, these pipes will be at least 2 inches in diameter to handle sufficient water flow.
For optimal water circulation, it’s important to consider the *placement of the skimmers and main drains*. Skimmers should be installed on the surface of the pool to capture debris, while main drains are strategically positioned at the bottom to facilitate thorough water circulation. Utilizing a *pool circulation pump* that complements the plumbing layout will ensure that water is consistently filtered and returned to the pool, enhancing both clarity and safety.
Connect Electrical Components for Lighting and Equipment
The next step of the process is the careful connection of electrical components crucial for lighting and equipment. This phase should be approached with *meticulous attention* to detail, as safety is paramount when handling electrical installations. Begin by ensuring that all electrical work is performed in compliance with local codes and regulations. A licensed electrician should ideally manage these connections to avert any potential hazards.
When connecting electrical components, you will need to install a *subpanel specifically for the pool*, which should be placed at a safe distance from the pool’s edge, ideally in a dry area. This subpanel will house the breakers for the pool’s lighting, pumps, and any auxiliary equipment. Utilizing water-safe fittings and *GFCI breakers* can help prevent electrical shock, bolstering the safety features of your pool area.
Ensure All Connections Are Secure and Meet Safety Standards
After the plumbing and electrical components have been meticulously installed, it is crucial to ensure that all connections are secure and meet established safety standards. A *visual inspection* should be your first line of defense—look for any loose fittings in the plumbing and confirm that all electrical wires are properly insulated and secured. Any leaks in the plumbing can lead to significant issues down the line, so a thorough plumbing pressure test is advisable.
Similarly, with the electrical connections, it’s important to conduct a series of tests to confirm functionality. This includes checking that all lights and equipment are operational and that there are no shorts in the system. Document all inspections and tests to create a *comprehensive record* of your installations. Ensuring that every element of your swimming pool’s plumbing and electrical systems is meticulously checked can vastly reduce costly repairs in the future.
| Component | Notes |
|---|---|
| Main Drain Lines | Use a minimum 2-inch diameter pipe for efficient drainage. |
| Skimmer Lines | Install at least 1 foot below the water surface to capture debris. |
| Subpanel Location | Position in a dry area, away from the pool edge. |
| GFCI Breakers | Essential for all electrical components to reduce shock hazards. |
Adding Finishing Touches
Lay the Pool Liner or Tiles
Once the structural framework of your swimming pool is complete, the next pivotal step is to lay the pool liner or install tiles. This choice not only influences the aesthetic appeal of your pool but also impacts its durability and maintenance. If opting for a liner, ensure it is of high quality and specifically designed for pool use to prevent punctures and leaks. Carefully spread the liner, smoothing out any air bubbles for a snug fit. Alternatively, if tiles are your preference, select water-resistant tiles that provide a visually striking finish. Pay attention to grout quality as well; a durable grout will withstand water exposure and discourage mold growth.
Fill the Pool with Water and Check for Leaks
With the liner or tiles securely in place, it is time to fill the pool with water. Use a garden hose or a water truck to gradually add water. As you fill, vigilantly monitor the integrity of the pool for any sign of leaks. It is advisable to fill the pool to a quarter of its depth before conducting a detailed inspection of all seams and connections. Watch for any signs of leaking around the edges or at fittings; addressing these issues early will save time and resources in the long run. The pool’s capacity is pivotal, so ensure you reference the correct measurements to avoid water-related complications.
Install Any Additional Features Like Steps or Handrails
The final elements to consider for your swimming pool are additional features such as steps or handrails. These installations not only enhance safety but also increase functionality and accessibility for all users. When installing pool steps, position them to facilitate easy entry and exit. Consider using non-slip materials to reduce the risk of accidents. For handrails, ensure they are securely anchored, preferably in locations most commonly utilized by swimmers. Investing in sturdy and aesthetically pleasing accessories will not only augment usability but also contribute significantly to the overall look of your pool area.
Maintenance Considerations
After completing the installation of finishing touches, it’s crucial to consider maintenance. Regular upkeep will help sustain the pool’s appearance and functionality. Schedule periodic inspections of the liner or tiles for any signs of wear and tear. Additionally, monitor the water chemistry consistently to maintain a safe swimming environment. Incorporating a maintenance schedule will not only prolong the life of your pool but also ensure that it remains a cherished asset for years to come.
Fixtures and Lighting
Enhancing your swimming pool experience can be achieved through the installation of fixtures and lighting. Underwater LED lights can create a stunning visual effect while providing adequate visibility during nighttime swims. Consider integrating lighting features that complement your overall landscape design. You can also opt for decorative water features, such as waterfalls, to elevate the aesthetic charm while creating a tranquil ambiance.
Final Inspections and Adjustments
Before officially opening your swimming pool for use, conduct a thorough final inspection. Verify that all components are secure and functioning correctly. Check the filtration system, cleanliness, and make any necessary adjustments to the water level. This comprehensive evaluation will ensure that every detail is attended to, providing peace of mind as you invite family and friends to enjoy your new oasis. By following these steps diligently, you can transform your backyard into a luxurious retreat, tailored to your personal style and preferences.
Landscaping and Decking
Create a Surrounding Landscaping Design
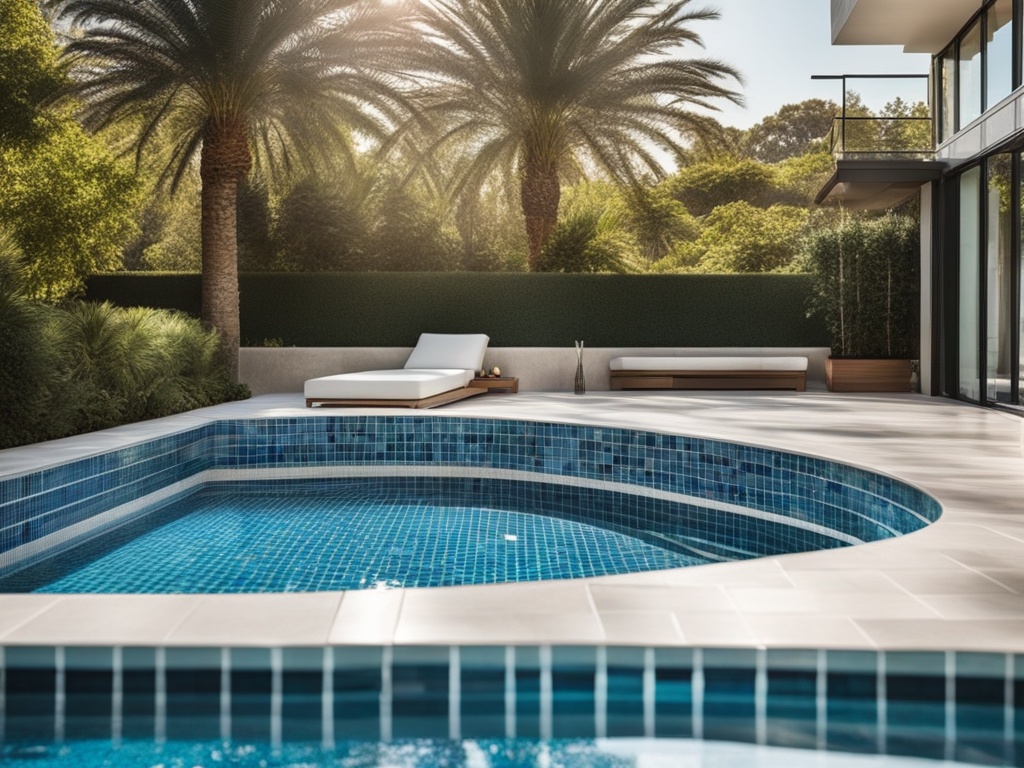
Enhancing the poolside experience begins with *thoughtful landscaping design*. Choosing the right plants not only adds beauty but also provides *privacy and shade*. Consider integrating tropical plants such as palms and hibiscus, which can evoke a serene paradise right in your backyard. Additionally, incorporating low-maintenance plants, such as succulents, can reduce upkeep, allowing you to enjoy your pool rather than toil over it.
When planning the layout, it’s crucial to think about the flow of movement around the pool. Paths made from natural stone or pavers can lead guests seamlessly from the house to the pool area, ensuring safety and accessibility. Furthermore, *strategically placed lighting* can create an enchanting atmosphere during evening swims, as well as highlight the natural beauty of your chosen flora.
Lay Decking or Paving Around the Pool Area
The decking surrounding your swimming pool should be both functional and visually appealing. Opt for materials like *composite decking*, which is both durable and slip-resistant, ensuring safety for everyone using the area. Alternatively, natural stone or brick pavers offer a classic aesthetic while providing excellent drainage, reducing the risk of accidents after rain.
Another key consideration is the color scheme of your decking. Lighter tones can reflect sunlight, keeping the area cooler underfoot, while darker shades can create a striking focal point. To maximize comfort, consider incorporating *aesthetic elements such as steps or ledges* that allow for lounging without leaving the deck, enhancing usability and style.
Add Furniture and Accessories for Comfort and Aesthetics
No pool area is complete without *furniture and accessories* that promote relaxation and enjoyment. Invest in durable lounge chairs and sunbeds that can withstand the elements while providing ample comfort. Consider adding a shade solution, such as an umbrella or pergola, to ensure that moments spent poolside are both enjoyable and protected from the sun.
Don’t overlook the potential of incorporating decorative elements, such as cushions, throws, and outdoor rugs. These items infuse personality into your space while enhancing comfort. Furthermore, adding features like *outdoor bar carts or side tables* increases functionality, allowing for ease of entertaining guests. Remember that the ambiance created by well-placed decorative lighting can elevate evening gatherings, making every moment memorable.
| Landscaping Element | Function | Maintenance Level |
|---|---|---|
| Tropical Plants | Shade, Aesthetics | Moderate |
| Low-Maintenance Plants | Beauty, Minimal Upkeep | Low |
| Composite Decking | Durability, Safety | Low |
| Natural Stone Pavers | Classic Appeal | Moderate |
Testing and Balancing
Test the Water Chemistry
Initiating the journey of maintaining a pristine swimming pool involves conducting a thorough water chemistry test. Regular testing is imperative to ensure that the water remains safe and enjoyable for swimmers. Employ a reliable test kit or strips to measure critical parameters such as chlorine levels, alkalinity, and pH. Ideally, test the water at least once a week during the swim season. A balanced chemistry not only enhances swimmer comfort but also prevents damage to the pool structure and equipment.
Balance pH Levels and Add Necessary Chemicals
Achieving optimal pH levels is essential in maintaining water clarity and sanitation. The ideal pH range is between 7.2 and 7.8. A pH that is too low can cause skin irritation, while a high pH level may result in cloudiness and decreased chlorine effectiveness. If adjustments are necessary, add pH increasers or decreasers accordingly. After balancing pH, it’s advisable to also assess alkalinity and calcium hardness, as they play crucial roles in stabilizing pH levels and preventing corrosion.
Install a Filtration System to Keep the Water Clean
A reliable filtration system is a cornerstone of pool maintenance, tasked with continuously cleaning and circulating the water. Choosing the right type—whether sand, cartridge, or diatomaceous earth (DE)—depends on your pool size and usage. Proper installation will ensure that the system operates optimally, requiring the filter to run for a minimum of 8 to 12 hours a day. This prolonged operation aids in capturing debris, algae, and contaminants, ensuring a clear and inviting swimming environment.
Chemical Addition and Maintenance
Once testing reveals imbalances, meticulously add the necessary chemicals to rectify the situation. For instance, if chlorine levels are low, consider using granulated chlorine or liquid chlorine to bring them up to the desired threshold. Record important adjustments in a maintenance log for future reference, and ensure that chemical additions are made gradually to prevent any sudden shifts in water chemistry that could lead to swimmer discomfort.
The Role of Algaecides and Shock Treatments
Incorporating algaecides and shock treatments into your pool maintenance regimen enhances water quality substantially. Algaecides fight the growth of algae, while shock treatments eliminate organic contaminants that conventional filtering may miss. Conduct shock treatments after heavy pool usage or following rainstorms to maintain a crisp and clear swimming experience. Testing after these treatments is essential to confirm that chemical levels return to safe ranges.
Regular Monitoring and Adjustments
Lastly, foster a routine of regular monitoring and adjustments to optimally balance your pool’s water chemistry. Seasonal changes, heavy pool usage, and environmental factors significantly influence water quality. Consequently, adapting your maintenance strategy accordingly will ensure the longevity of your pool structure and the health and safety of all who enjoy it. Consistency is key in swimming pool maintenance; a diligent approach will serve you well in the long run.
Maintenance and Care
Building a swimming pool is a significant investment that provides both relaxation and enjoyment. However, to preserve its beauty and functionality, establishing a rigorous maintenance schedule is essential. Regularly attending to your pool ensures that it remains a safe and inviting space for you and your loved ones. By implementing a systematic approach, you can *prolong the life of your pool* and *enhance your swimming experience*.
Establish a Regular Maintenance Schedule
Creating a detailed maintenance schedule is the cornerstone of effective pool care. It should include daily, weekly, and monthly tasks that address different aspects of pool upkeep. For instance, you might choose to check the pool’s equipment and skimmer baskets daily to prevent debris accumulation. Weekly tasks could encompass brushing the walls and floor, vacuuming, and testing water chemistry. Monthly activities should involve a thorough inspection of the pool’s filtration system and the cleaning of tiles to avoid buildup of algae and other unwanted substances. *Sticking to this schedule not only simplifies maintenance but also helps identify potential issues before they escalate into costly repairs.*
Clean the Pool Regularly
Regular cleaning is vital to maintaining the aesthetic appeal and hygiene of your swimming pool. Skimming the surface with a net daily removes leaves and debris that can cause water quality issues. Additionally, brushing the walls and steps weekly prevents algae growth, while vacuuming keeps the pool floor free from dirt and grime. Consider employing an automatic pool cleaner for efficiency; these devices can save you time and effort while ensuring that your pool remains pristine. *Remember, a clean pool is a healthy pool.*
Monitor Water Levels and Chemical Balance Consistently
Water chemistry is paramount in maintaining a safe swimming environment. It is crucial to monitor the pool’s pH, alkalinity, and chlorine levels at least weekly. The optimal pH level should be between 7.4 and 7.6 to minimize skin and eye irritation. Regular testing kits or digital testers can help you accurately assess and adjust water chemistry. If imbalances occur, *address these promptly* to prevent cloudy water and potential health risks. Furthermore, maintaining appropriate water levels is essential not only for optimal filtration but also for the overall structural integrity of the pool.
Below is a table that outlines the ideal ranges for key water chemistry parameters:
| Water Parameter | Ideal Range |
|---|---|
| pH | 7.4 – 7.6 |
| Alkalinity | 80 – 120 ppm |
| Chlorine | 1 – 3 ppm |
| Calcium Hardness | 200 – 400 ppm |
| Cyanuric Acid | 30 – 50 ppm |
In conclusion, adopting a diligent approach to pool maintenance not only ensures crystal clear water but also fosters a relaxing oasis. By committing to a structured schedule, performing regular cleaning, and vigilantly monitoring water levels and chemical balance, you can enjoy a *superior swimming experience* while safeguarding your investment. Make maintenance a priority, and reap the rewards of a beautifully maintained swimming pool.
Learn more about Swimming Pool

Javier Morales is passionate about pool design, maintenance, and outdoor living. With years of hands-on experience, he offers practical tips, creative ideas, and expert insights to help readers make the most of their pool spaces. At Piscina Planet, Javier shares everything from seasonal care guides to the latest trends in pool innovation.


